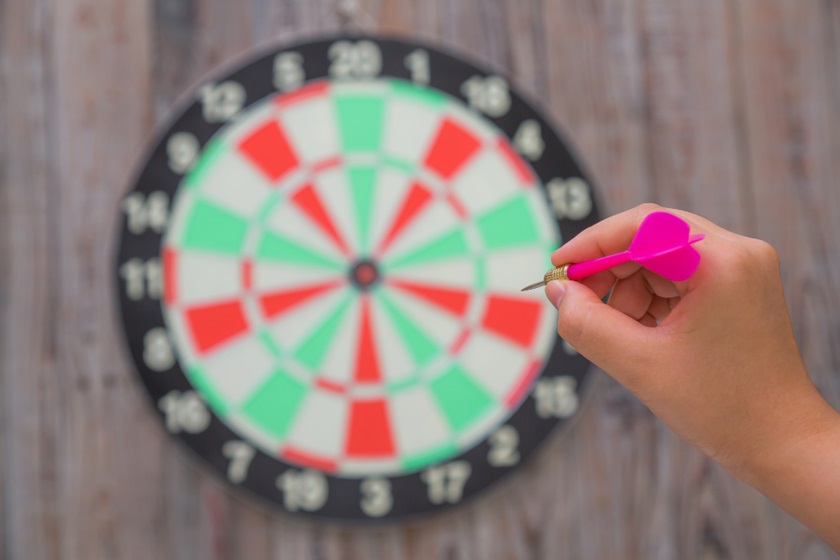
Setting up and mounting a dartboard properly is essential for optimal gameplay and safety. Whether you’re a seasoned player or just starting out, understanding the proper techniques for mounting a dartboard will ensure that you can enjoy the game to its fullest. In this comprehensive guide, we’ll walk you through the step-by-step process of setting up and mounting a dartboard with precision and accuracy.
1. Choose the Right Location:
The first step in setting up a dartboard is choosing the right location. Select a space that is well-lit, free from obstructions, and away from high-traffic areas to minimize distractions and ensure safety during gameplay. Ideally, the dartboard should be mounted on a sturdy wall with ample clearance around the board to accommodate players and allow for proper throwing distance.
2. Measure and Mark the Dartboard Height:
Next, you’ll need to measure and mark the correct height for mounting the dartboard. According to official regulations, the center of the bullseye should be positioned 5 feet 8 inches (173 cm) from the floor. Use a tape measure to mark this height on the wall and make any necessary adjustments to ensure accuracy.
3. Install the Mounting Bracket:
Once you’ve marked the correct height, it’s time to install the mounting bracket. Most dartboards come with a mounting bracket or hardware for easy installation. Position the bracket on the wall at the marked height and use a level to ensure that it is straight and level. Secure the bracket to the wall using screws or wall anchors, making sure that it is firmly attached and able to support the weight of the dartboard.
4. Prepare the Dartboard:
Before mounting the dartboard, it’s essential to prepare the board for installation. Remove any protective packaging or wrapping from the dartboard and inspect it for any damage or defects. Check that the dartboard is clean, dry, and free from dust or debris that could affect gameplay or cause damage to the dartboard surface.
5. Mount the Dartboard:
With the mounting bracket in place and the dartboard prepared, it’s time to mount the dartboard to the wall. Position the dartboard onto the mounting bracket, ensuring that it is centered and aligned with the marked height on the wall. Use a screwdriver or drill to secure the dartboard to the mounting bracket, taking care not to over-tighten the screws and damage the dartboard surface.
6. Test for Stability:
Once the dartboard is securely mounted to the wall, it’s essential to test for stability and ensure that it is firmly in place. Gently shake the dartboard to check for any wobbling or movement, and make any necessary adjustments to the mounting bracket or screws to ensure stability. A properly mounted dartboard should be securely attached to the wall and free from any movement or vibration during gameplay.
7. Mark the Throw Line:
The final step in setting up a dartboard is marking the throw line, also known as the oche or toe line. According to official regulations, the throw line should be positioned 7 feet 9.25 inches (237 cm) from the face of the dartboard. Use a tape measure to mark this distance on the floor and create a visible line or marker to indicate the throwing area for players.
8. Enjoy the Game:
With the dartboard properly set up and mounted, it’s time to enjoy the game! Gather your darts, step up to the throw line, and take aim at the target. Whether you’re playing a friendly game with friends or practicing your skills solo, having a properly mounted dartboard ensures a safe and enjoyable gaming experience for all players involved.
In conclusion, setting up and mounting a dartboard properly is essential for optimal gameplay and safety. By following these step-by-step instructions and guidelines, you can ensure that your dartboard is securely mounted to the wall and positioned at the correct height for accurate and enjoyable gameplay. With a properly mounted dartboard, you can focus on honing your skills, perfecting your aim, and enjoying countless hours of fun and excitement with friends and fellow players.


